A settings screen is a screen that looks something like this:
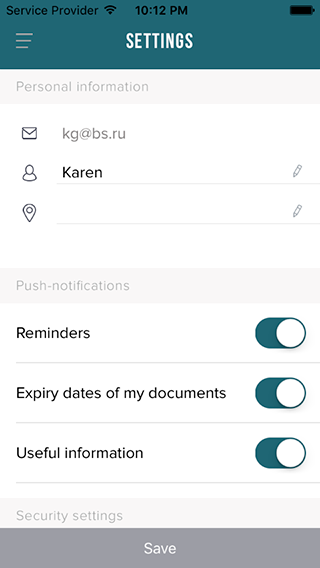
When I started out with iOS development, I knew only one way of creating such a screen. I would create a UIScrollView and just put all the views and their constraints on it manually using the Interface Builder. That was a lot of work but at that time I didn’t know any better.
Once I had a job interview. And an interviewer asked me how I implemented a certain settings screen in my app. I told him it was a UIScrollView with a bunch of views in it. He asked me why I hadn’t used UITableView, that way I could have implemented repeating elements as UITableViewCells. Good idea! – I thought.
Up until that point I only used UITableView with dynamic cells. So I tried table views with static sells. It turned out you can only use them inside UITableViewController, and not inside UIViewController with a table view. That got me confused. I couldn’t figure out what was the use of a UITableViewController, since there was no way to customise it. For instance, you can’t add a button at the bottom of the table view if that table view is inside UITableViewController.
Having no luck with static cells I tried using table views with dynamic cells to create settings screens.I used this approach in a couple of projects. It worked, but it wasn’t much of an improvement over using UIScrollView. With scroll view you have to do a lot of work in the Interface Builder. With table view with dynamic cells you have to do a lot of coding.
Anyway, a couple of days ago I finally figured out how to use UITableView with static cells to create a settings screen. The solution is so simple, I can’t believe I figured it out only now, after 2 years of doing iOS programming.
This is how you do it. You create a UIViewController and a UITableViewController. Then you put your UITableViewController inside your UIViewController, as a child view controller. That’s it. If you want to put a button outside of the table view, just do it in the UIViewController. This is how it may look in your Storyboard.
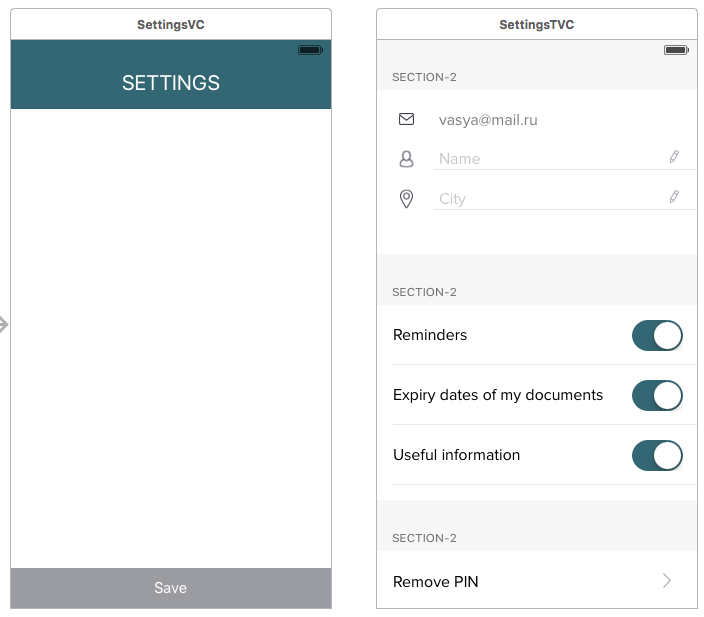
The cool thing is that once you created one cell, you can just copy it. Then in your UITableViewController you can make outlets for all your text fields, labels, buttons and other UI elements you have inside the table view. Also, when the keyboard goes up, the table view adjusts accordingly.
Unfortunately, I couldn’t customise the section headers right in the storyboard, so I had to do it programmatically. Here are the only three UITableViewDataSource methods that I implemented:
|
1 2 3 4 5 6 7 8 9 10 11 12 13 14 15 16 17 18 19 20 21 22 23 24 25 26 27 28 29 30 31 32 33 34 35 36 37 38 39 40 |
-(CGFloat)tableView:(UITableView *)tableView heightForHeaderInSection:(NSInteger)section{ return 35; } -(CGFloat)tableView:(UITableView *)tableView heightForFooterInSection:(NSInteger)section{ return 0.02f; } - (UIView *)tableView:(UITableView *)tableView viewForHeaderInSection:(NSInteger)section { UILabel *myLabel = [[UILabel alloc] init]; myLabel.frame = CGRectMake(16, 0, 320, 35); myLabel.font = [UIFont boldSystemFontOfSize:18]; NSString *text; switch (section) { case 0: text = @"Personal information"; break; case 1: text = @"Push-notifications"; break; case 2: text = @"Security settings"; break; default: break; } UIView *headerView = [[UIView alloc] init]; [headerView addSubview:myLabel]; headerView.backgroundColor = [UIColor colorWithRed:248/255.0 green:247/255.0 blue:247/255.0 alpha:1]; return headerView; } |